REDNECK ENG. TECH TIPS
#1) Mock up major components before paint (sheet metal, driveline, rear wheel)
#2) Install oil tank before motor or trans (flush oil tank after body & paint work)
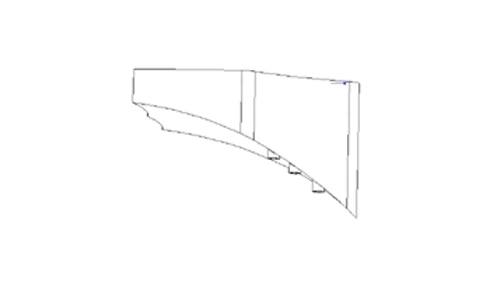
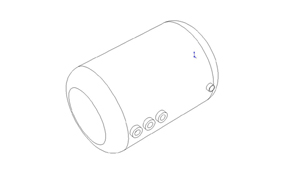
#3) Oil tank lines:
WRAP(side view) ROUND or OVAL (bottom view) CURVE or SD style (front view)

![]()
![]()
![]()
![]()


![]()
![]()
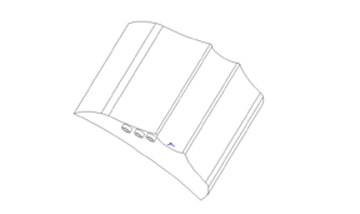
return vent supply supply vent return return vent supply
DO NOT FILL OIL TANK ABOVE VENT OR RETURN TUBES (approx 3 quarts)
This is a General guideline for oil line hook up.
It is the responsibly of the installer to make sure the supply line is hooked up to the bottom fitting with no internal tube. The vent line is always the next fitting closest to supply fitting. And then the return would obviously be the furthest away from supply / drain fitting.
If you have any questions CALL US!!
When firing an engine in a new installation you should always verify you have oil pressure with a gauge or a light.
#4) Use Loctite on every fastner!
#5) You must install the rear axle and draw the rear section together before belt/chain alignment or measuring for spacers. ( fender installation may also be easier when axle is drawn up)
250belt-chain/280chain: rear axle span = 12 .75 inches(distance between inside axle blocks)
280belt/300chain: rear axle span = 13.75 inches
(if you have requested a driveside brake set up add .200-.300 to the left side)
#6) Driveline mock-up and assembly:
A. Install oil tank before motor or transmission
B. Cut off trans mounting bolts so they are .500 long (This allows clearance for battery) Belt-drive applications may require removal of inner race from trans shaft
C. Set motor into frame and drop bolts through mounting holes (do not put nuts on)
D. Set trans into frame – look to see if trans is sitting flat and contacting trans mount (some cases have thick reinforcing ribs that must be relieved to allow trans to sit flush) do not put nuts on
E. Install inner primary or belt drive backing plate and engine spacer on motor case and trans locating pins. ( due to manf. differences it may be necessary to over size holes in spacer only). Start bolts in primary to engine holes by hand ( rock motor forward or back to lessen bind on bolts) tighten bolts together in a pattern.
F. Install primary to trans bolts and tighten in a pattern
G. Inspect engine/trans mounting clearance at frame. (Should be flush) (It is allowable to use small shims .020-.030 under trans if clearance is greater than .010)
H. Install nuts on engine/trans mounting bolts and lightly tighten:
1. Rear engine bolts
2. Front engine bolts
3. Trans bolts in pattern
Repeat sequence to final torque specs.
#7) Prep and seal (Por 15) gas tank before paint and flush tank after paint!
|
|
|
|